When to Remove a Shed
Oregon homeowners remove sheds for many reasons: the structure is rotting and unsafe, the yard needs reclaiming for other uses, a new shed is going in its place, or the property is being prepared for sale. Whatever the reason, shed removal is a project that requires planning — especially in Oregon where older sheds often have moisture damage, moss-covered roofing, and foundations settled into wet soil.
Signs Your Shed Needs to Go
- Structural rot: Floor joists, wall studs, and roof rafters that are soft, crumbling, or visibly decayed. Oregon's wet climate accelerates wood rot in structures without proper ventilation or drainage.
- Leaning or shifting: A shed that is no longer plumb has foundation issues. Repairing the foundation is rarely cost-effective for a basic shed.
- Roof failure: Collapsed or sagging roof sections, missing shingles, and persistent leaks that have led to interior mold and mildew.
- Pest damage: Rodent nests, carpenter ant trails, and termite damage in structural members. In the Willamette Valley, moisture ants are a common shed pest.
- Code violations: Sheds that encroach on setbacks, exceed height limits, or were built without required permits. Oregon cities enforce these during property sales.
Permits and Regulations in Oregon
Demolition permit requirements vary by Oregon city and county:
- Portland: Structures under 200 square feet typically do not require a demolition permit. Larger structures may need a permit from the Bureau of Development Services.
- Eugene: Sheds under 200 square feet on residential property generally do not require a permit for removal. Check with the Building and Permit Services division.
- Salem: Similar to Portland — small accessory structures under 200 square feet are usually exempt from demolition permits.
- Bend: Check with Deschutes County Community Development for current requirements.
Important Considerations
- Utilities: If the shed has electrical, plumbing, or gas connections, these must be properly disconnected by licensed professionals before demolition.
- Asbestos: Sheds built before 1980 may contain asbestos in roofing, siding, or flooring. Oregon law requires testing before demolition of structures that may contain asbestos.
- Property lines: Verify the shed is on your property before demolishing it. Shared structures on property lines require neighbor agreement.
Preparation Steps
Before starting demolition, prepare the site and yourself:
Empty the Shed
Remove everything from inside the shed. Sort items into keep, donate, and remove piles. This is a great time to declutter yard tools, holiday decorations, and all the miscellaneous items that accumulate in outbuildings over the years. See our guide on what junk haulers will accept for items you can include with the shed debris.
Disconnect Utilities
If the shed has electricity, call a licensed electrician to disconnect and cap the circuit. If there is plumbing, have a plumber disconnect and cap water lines. Never attempt to disconnect utilities yourself.
Gather Tools and Safety Equipment
- Pry bar and crowbar
- Reciprocating saw (Sawzall) with demolition blades
- Hammer and sledgehammer
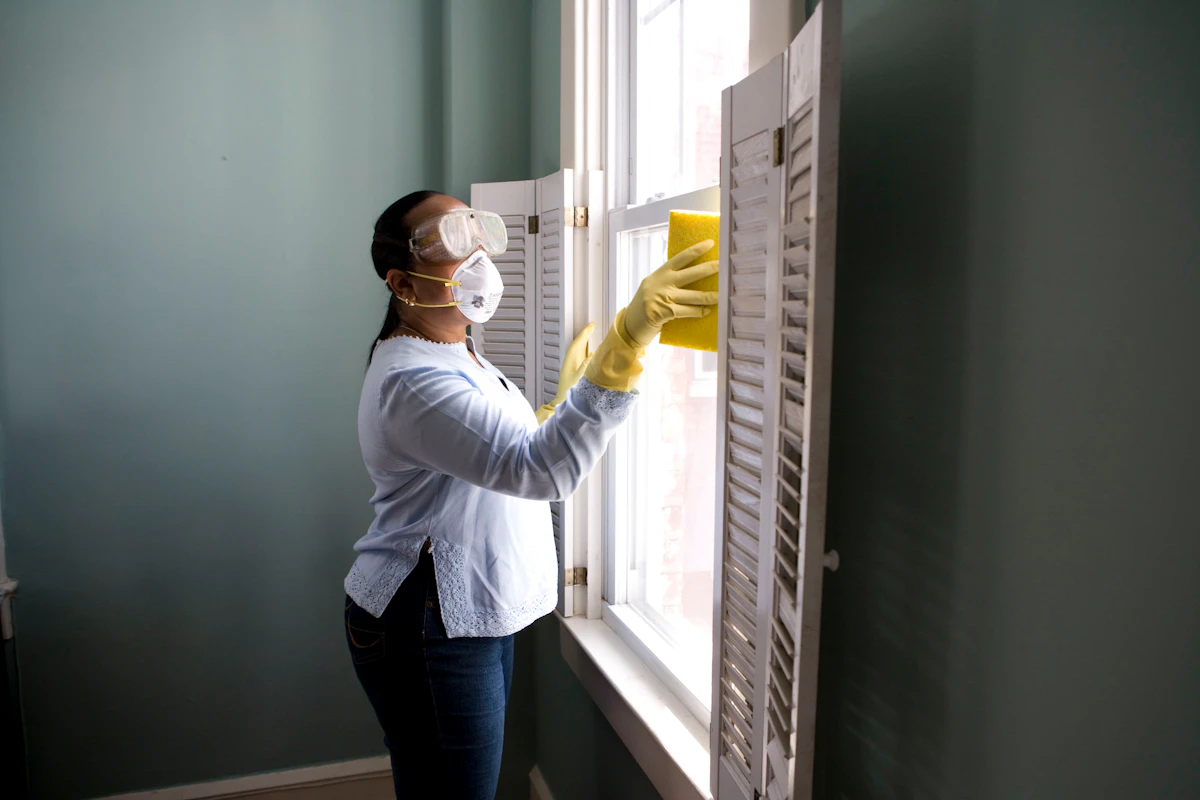
- Work gloves, safety glasses, and dust mask
- Steel-toed boots
- Wheelbarrow for moving debris
- Tarps to collect debris and protect surrounding landscaping
Protect the Surroundings
Lay tarps around the shed perimeter to catch debris and protect lawn and landscaping. Identify nearby structures, fences, and plants that could be damaged during demolition and plan your teardown direction to avoid them.
DIY Shed Demolition Step by Step
If the shed is a standard wood-frame structure under 200 square feet with no utilities, most handy homeowners can handle the demolition themselves. Work from the top down:
Step 1: Remove Roofing
Start by stripping the roofing material — shingles, metal panels, or rolled roofing. Use a flat pry bar or roofing shovel. Pile roofing materials separately since they go to different disposal streams than wood framing.
Step 2: Remove Roof Sheathing and Rafters
Once the roofing is off, remove the plywood or OSB sheathing. Then take down the rafters one at a time, starting from one end. Use a reciprocating saw to cut through nailed connections. Have a helper steady rafters as you cut to control where they fall.
Step 3: Take Down Walls
Remove siding first — pry it off panel by panel or board by board. Then push or pull wall sections inward where they can fall safely. For walls that resist, cut through studs with a reciprocating saw at the base and tip the section over.
Step 4: Remove the Floor
Pry up floor sheathing and remove floor joists. If the shed sits on pressure-treated skids or a concrete slab, these are the last things to address.
Step 5: Sort the Debris
Separate the demolished materials: clean wood in one pile, metal hardware and roofing in another, and treated or painted wood in a third. This separation saves on disposal costs and allows for recycling. For details on recycling construction materials, see our guide on construction debris removal.
Professional Shed Removal
Hiring a professional crew makes sense when:
- The shed is large, more than 200 square feet
- The structure has utilities that need disconnection
- The shed contains hazardous materials like asbestos siding
- You do not have the tools, time, or physical ability for demolition
- The shed is in a tight space next to fences, other structures, or landscaping
- The foundation is concrete that needs breaking and removal
What Professional Removal Includes
A professional junk removal and demolition crew handles the entire process: emptying remaining contents, demolishing the structure, loading all debris, hauling it away, and leaving the site clean. Most shed removals in Oregon take half a day to one full day depending on size and complexity.
Cost Range
Professional shed removal in Oregon typically costs $500 to $2,500 depending on size, construction type, foundation type, and access difficulty. A small wooden shed on skids at the edge of the yard costs less than a large concrete-foundation shed in a tight backyard accessible only through a gate. For broader pricing context, see our junk removal cost guide.
Debris Disposal Options
A typical shed generates 2 to 8 cubic yards of debris depending on size. Disposal options include:
- Professional removal: The crew that demolishes the shed hauls away all debris as part of the service.
- Dumpster rental: A 10-yard or 20-yard roll-off dumpster placed in your driveway. Fill it at your own pace during and after demolition.
- Self-haul: Multiple trips to the transfer station in a truck or trailer. Budget for 2 to 4 loads for an average-sized shed.
- Recycling: Clean wood goes to wood recyclers or biomass facilities. Metal roofing, hardware, and flashing go to scrap yards. Concrete goes to aggregate recyclers.
Handling the Foundation
The foundation type determines the final phase of the project:
- Skids or posts on gravel: The easiest to remove. Pull the skids or dig out the posts. Rake the gravel level and you are done.
- Concrete blocks: Stack and remove. These can often be reused for garden borders or sold on Craigslist.
- Concrete slab: The most labor-intensive. Breaking a concrete slab requires a jackhammer or concrete saw. The broken concrete is heavy — expect 2 to 4 tons for a typical slab. Clean concrete is recyclable at Oregon aggregate facilities.
- Poured concrete piers: Dig around each pier and remove. Some homeowners choose to cut piers below grade level and bury them rather than extracting them completely.
Site Restoration
After the shed and foundation are gone, restore the site:
- Grade the area. Fill low spots with clean fill dirt and grade the surface for proper drainage away from your home.
- Amend the soil. The ground under a shed is often compacted and nutrient-depleted. Add compost and topsoil if you plan to plant grass or garden in the area.
- Seed or sod. Oregon's fall and spring are ideal for establishing new grass. Seed in September through October or March through April for the best results in the Willamette Valley.
- Consider drainage. If the shed area collected water, address drainage before planting. A French drain or regrading may be needed.
Frequently Asked Questions
How long does it take to demolish a shed?
A handy homeowner can demolish a small wood-frame shed in one to two days working alone, or a full day with a helper. Professional crews typically complete shed demolition and removal in four to eight hours.
Can I burn my old shed?
Open burning is prohibited in most Oregon cities and during summer burn bans. Even in rural areas where burning is allowed, painted or treated wood should never be burned due to toxic fumes. Check with your local fire department before burning any construction debris.
Do I need to remove the foundation?
It depends on your plans for the space. If you are building a new shed in the same location and the existing foundation is in good condition, you may be able to reuse it. If you are restoring the area to lawn or garden, removing the foundation creates a cleaner result.
What if my shed has asbestos siding?
Sheds built before 1980 may have asbestos cement siding or roofing. Do not cut, break, or sand these materials. Oregon requires licensed asbestos abatement contractors to handle removal. Testing costs $25 to $50 per sample and is strongly recommended before any demolition of older structures.