Key Takeaways
- Clean before you move anything in — an empty house is 3-4 times faster to clean than a furnished one, and you can reach every surface.
- Start from the top and work down — ceilings and light fixtures first, floors last, so dirt and dust fall downward onto surfaces you have not cleaned yet.
- Plan 4-8 hours for a DIY move-in clean depending on the home's size and condition.
- Professional move-in cleaning costs $200-$500 and is worth it if the previous occupant's cleaning was not thorough.
- Focus on sanitizing kitchens and bathrooms — these are the areas where someone else's dirt matters most for health.
You have signed the lease or closed on the house. The keys are in your hand. Before the moving truck arrives, you have a window of opportunity that will not come again: a completely empty home that you can clean from ceiling to floor without working around furniture, boxes, or the chaos of unpacking.
Even if the previous owner or tenant cleaned before leaving, their version of clean may not match yours. Refrigerator shelves might be sticky, cabinet interiors could have crumbs, and bathroom grout might need scrubbing. A thorough move-in clean lets you start fresh in a home that meets your standards — and it is dramatically easier to do it now than after your belongings are in place.
Step 1: Gather Your Supplies
Bring everything with you so you do not have to make mid-clean runs to the store:
Essential Supplies
- All-purpose cleaner (multiple bottles — you will use more than you think)
- Disinfectant spray or wipes
- Glass cleaner
- Bathroom cleaner (something with disinfecting power for toilets and tubs)
- Degreaser for kitchen surfaces
- Baking soda (for scrubbing and deodorizing)
- White vinegar (for mineral deposits and glass)
- Microfiber cloths (at least 6-8)
- Scrub sponges and a scrub brush
- Bucket and mop
- Vacuum cleaner (with attachments for corners and vents)
- Broom and dustpan
- Step ladder
- Rubber gloves
- Trash bags
- Paper towels (for the really dirty tasks where you do not want to ruin a cloth)
Step 2: Work Top to Bottom, Back to Front
The order matters. Cleaning ceilings and upper surfaces first means the dust and drips fall onto surfaces you have not cleaned yet. Working from the back of the house toward the front door means you are never walking through areas you just cleaned.
Whole-House First Pass
Before diving into individual rooms, do a quick pass through the entire house:
- Check all light fixtures — remove dead bugs and dust from ceiling fixtures, replace any burned-out bulbs
- Wipe all ceiling fan blades
- Dust the tops of door frames and window frames throughout the house
- Vacuum all HVAC vents and return air grilles — remove the covers and wash them if they are grimy
- Check and replace the HVAC filter if needed
- Wipe all light switches, outlet covers, and door handles — these are the most-touched surfaces in the home
Step 3: Kitchen (60-90 Minutes)
The kitchen gets the most thorough cleaning because it is where you prepare food. Someone else's grease, crumbs, and residue have no place in your kitchen.
Cabinets and Drawers
- Open every cabinet and drawer
- Vacuum out crumbs and debris
- Wipe all interior surfaces with all-purpose cleaner
- Wipe exterior cabinet faces and hardware (handles, pulls)
- Line shelves with fresh shelf liner if desired
Appliances
- Refrigerator: Remove all shelves and drawers, wash them in the sink with dish soap, wipe interior walls and door seals, clean the exterior
- Oven: Run the self-clean cycle (if available) or scrub manually with baking soda paste. Clean oven racks separately. Clean the stovetop, drip pans, and knobs.
- Dishwasher: Run an empty cycle with white vinegar to sanitize. Clean the filter, door seal, and edges.
- Microwave: Steam clean by microwaving a bowl of water with lemon juice for 3 minutes, then wipe the softened splatter away.
Surfaces and Fixtures
- Degrease countertops thoroughly
- Clean and disinfect the sink — scrub with baking soda, rinse, then disinfect
- Clean the faucet and handles
- Clean the garbage disposal (ice cubes, coarse salt, and lemon)
- Run hot water and check under the sink for leaks
Step 4: Bathrooms (30-45 Minutes Each)
Bathrooms require disinfecting, not just wiping. You are cleaning away the previous occupant's use of the most personal room in the house.
- Toilet: Disinfect inside the bowl, under the rim, the seat (top and bottom), lid, tank exterior, and base. Use a dedicated toilet brush — do not use one that was left behind.
- Shower and tub: Scrub all surfaces with bathroom cleaner. Pay special attention to grout lines, the shower floor, and around the drain. Clean the showerhead — soak it in vinegar if it has mineral buildup.
- Sink and vanity: Clean the sink basin, faucet, handles, and counter. Wipe the vanity cabinet inside and out.
- Mirror: Clean with glass cleaner and a microfiber cloth for streak-free results.
- Medicine cabinet: Wipe all shelves and the mirror.
- Floor: Scrub the bathroom floor on your hands and knees — mops miss the areas around the toilet base and behind the toilet. Disinfect, do not just wipe.
- Exhaust fan: Remove the cover, vacuum it, and wipe the blades.
Step 5: Bedrooms and Living Areas (20-30 Minutes Each)
- Wipe all closet shelves, rods, and interior surfaces
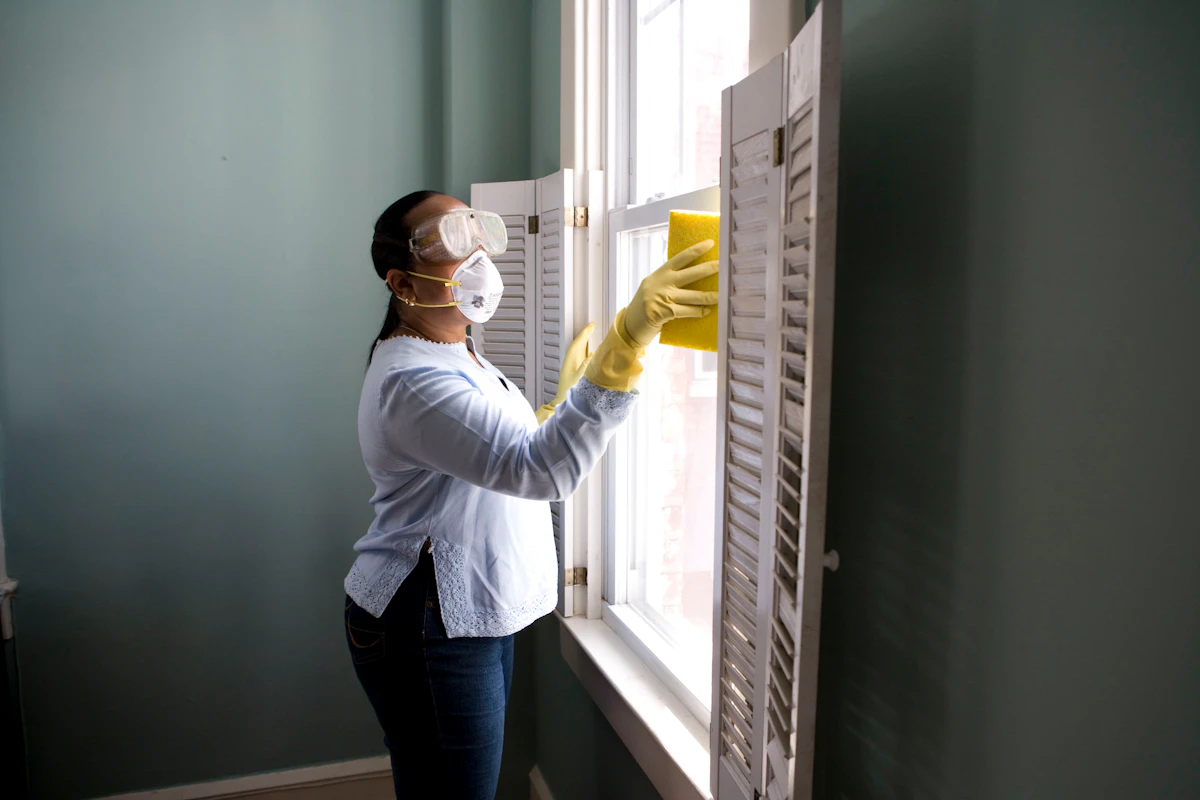
- Wipe all window sills and tracks — these collect dead bugs and dust
- Clean windows inside (both panes if accessible)
- Wipe all baseboards
- Check and clean all electrical outlet and switch plate covers
- If the home has carpet, vacuum thoroughly and consider having it professionally steam cleaned — you do not know what happened on that carpet before you
- If the home has hard floors, sweep and mop every room
Step 6: Final Walkthrough
After cleaning each room, do one final pass through the entire house:
- Sweep or vacuum all floors one more time (cleaning kicks up dust)
- Mop all hard floors
- Vacuum carpet in all rooms
- Check every faucet for leaks
- Run every toilet to make sure they flush and fill properly
- Test all outlets (bring a phone charger or outlet tester)
- Make sure all windows open and close, and that locks work
- Take photos of every room — this documents the condition at move-in, which protects you when you eventually move out
When to Hire a Professional Move-In Cleaning
A professional move-in clean is worth considering if:
- The previous occupant's cleaning was visibly inadequate
- You do not have 4-8 free hours before the moving truck arrives
- The home has been vacant and dust has accumulated
- The home was recently renovated (construction dust requires special handling)
- You want to start with a professionally sanitized home
A professional move-in clean from Otesse covers everything in this guide and typically takes 3-6 hours depending on home size. We bring all supplies and equipment, and we focus on the sanitizing and deep cleaning that makes a house feel like your home from day one.
Start Fresh
A move-in clean is one of those tasks that pays dividends for as long as you live in the home. You start with a baseline of clean that is yours, not inherited from the previous occupant. Take the time to do it right — or hire someone to do it for you — and you will feel better about your new home from the very first night.